
Lawn
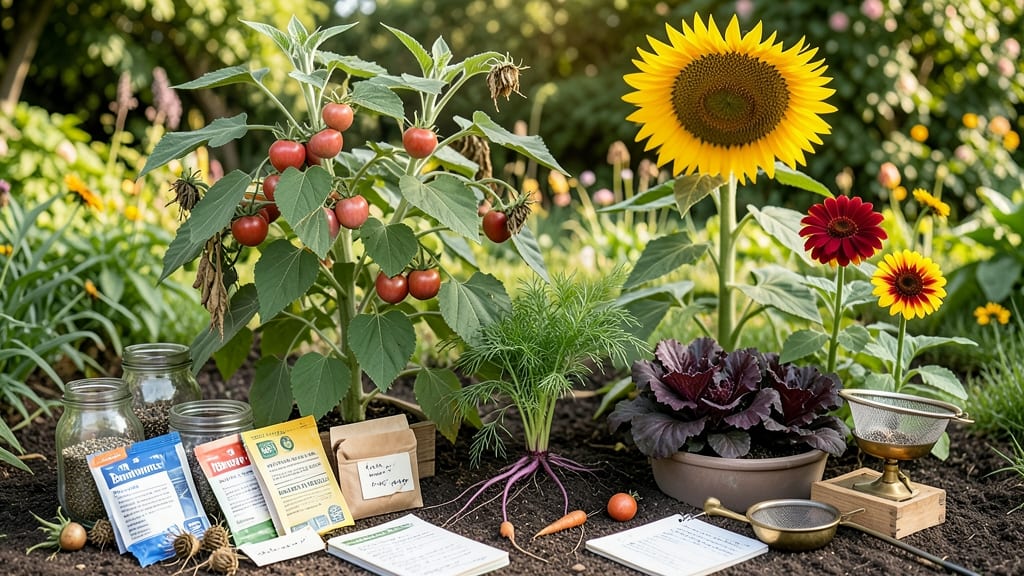
Saving seeds from your garden feels like unlocking a time machine—except instead of traveling, you're preserving the future of your favorite plants for next year. 🌱 The Seed Savers Exchange taught me that even twist-free pods (like from tomatoes or peppers) hold viable seeds when dried and stored properly, saving you money and keeping heirloom varieties alive.
You don’t need fancy equipment—just paper bags, a dry spot, and patience. Let seeds fully mature on the plant, then harvest them when they’re crispy-dry inside their pods.
A week of air-drying on a screen or paper towel keeps them from molding, and a simple jar in the fridge preserves them for years.
What you’ll end up with is a stash of seeds that grow into plants just like the ones you loved this season—only now you’re not at the mercy of seed companies. Imagine growing that perfect heirloom tomato or vibrant flower again, without buying new seeds every year.
This method works for veggies, herbs, and flowers, and it’s a game-changer for gardeners who want to reduce waste and support biodiversity. Plus, sharing seeds with neighbors turns into a way to build community—one twist-free pod at a time.
📚 In This Guide
- What you need
- Instructions
- Tips and common mistakes
- Wrapping up and next steps
What you need
- ● Mature, twist-free seed pods: Harvest pods from plants like cleome, lupine, or delphinium when they’re fully dry but before they crack open. Aim for 10–15 pods (more = more variety!).
- ● Paper bags or breathable fabric sacks: 1–2 brown paper lunch bags (or muslin bags) per pod type to allow airflow. No plastic!
- ● Sharp scissors or pruning shears: For cleanly snipping pods from stems. Sterilize with rubbing alcohol if reusing.
- ● Labeling supplies: Waterproof markers or pencil (inks fade!).
- ● Small index cards or masking tape for tags.
- ● Drying surface: A wire rack, clean cardboard, or even a screen door in a dry, shaded spot.
- ● Air-tight containers: Small glass jars (like mason jars) or ziplock bags with the air squeezed out.
- ○ Desiccant packets: 1–2 silica gel packs (optional but highly recommended for humidity control).
- ● Seed catalog or notebook: To log pod varieties, harvest dates, and germination notes.
- ● Fine mesh bag: For winnowing seeds (separating them from chaff) if pods are fibrous.
- ● Humidity monitor: A $10 digital hygrometer to keep storage areas below 40% humidity.
- ● Freezer-safe bags: For long-term storage (-0°F slows aging).
Step-by-Step guide to harvesting and saving viable seeds from twist-free pods
Here’s how to rescue seeds from pods that refuse to twist open—naturally and efficiently.
🌱 Step 1: Wait for Full Maturity and Dry the Pods
Leave the pods on the plant until they turn completely dry and papery, then snip them off with clean scissors. You’ll know they’re ready when they crumble slightly between your fingers—this means the seeds inside are fully mature and viable. Avoid harvesting early; immature seeds won’t germinate next year.
Spread the pods on a mesh screen or paper towel in a warm, dry, well-ventilated spot. Avoid direct sunlight, which can overheat the pods and damage the seeds. Stir them gently every few days to ensure even drying—this prevents mold and speeds up the process.
💧 Step 2: Break Open the Pods and Separate Seeds
Once the pods are brittle, place one in a small bowl and gently crush it with your fingers or a rolling pin. The seeds should pop out easily—if they don’t, the pods weren’t dry enough. Sift the debris through a fine-mesh strainer to separate the seeds from chaff and empty shells.
I like to use a small fan to blow away any remaining dust or debris after sifting. This ensures only clean seeds remain. If you’re saving seeds from multiple plants, label each bowl with the plant variety to avoid mixing them up later.
☀️ Step 3: Test Seed Viability Before Storage
To confirm your seeds are viable, place a few in a damp paper towel inside a sealed plastic bag. Keep it in a warm spot (around 70-75°F) for 5-7 days. Check daily—if the seeds sprout, they’re ready for storage. If not, the pods weren’t fully mature when harvested.
This step is crucial, especially for heirloom varieties. If viability is low, consider repeating the drying process with the remaining pods. Once confirmed viable, let the seeds dry completely for 24-48 hours before storing to prevent mold.
🪴 Step 4: Store Seeds Properly for Long-Term Use
Place the dried seeds in airtight containers like glass jars or envelopes. Add a packet of silica gel or a moisture absorber to keep humidity low. Store them in a cool, dark place—your refrigerator’s crisper drawer works well. Label each container with the plant name and harvest date.
Seeds saved this way can last 3-5 years or longer, depending on the variety. Check them annually for signs of moisture or pests. If you notice any issues, transfer the seeds to a new container immediately to preserve their quality.
⏰ Step 5: Plan for Next Year’s Planting
Before winter, review your stored seeds and note which varieties performed best. Make a list of what you’ll replant, including spacing and sunlight needs. This ensures you’re ready to repeat the process—and avoid the frustration of twist-free pods next season.
I always set a reminder to test a few seeds in early spring to confirm they’re still viable. This gives me confidence that my homegrown varieties will thrive again. With this method, you’ll never waste another pod again!
Tips & tricks for perfect seed saving from twist-free pods
Here's what nobody tells you about making sure every seed you save is ready for next season.
Pod Maturity Matters: The crumble test in Step 1 is your best friend—if pods don't crumble slightly between your fingers, they're not ready. I've learned this the hard way after trying to save seeds from pods that were still slightly green. For extra assurance, look for pods that have turned completely brown and feel hollow when tapped gently. This is especially important for heirloom varieties where seed quality matters most.
Drying Strategy: When spreading pods to dry in Step 1, I recommend using a mesh screen over a baking sheet rather than just a paper towel. The elevated airflow prevents moisture buildup underneath, which can lead to mold. Place the screen in a spot with good air circulation—like near an open window with a fan blowing gently across it. This speeds up drying while preventing overheating from direct sunlight.
Viability Testing: The 5-7 day germination test in Step 3 is non-negotiable for serious seed savers. I've found that placing the damp paper towel in a clear plastic bag makes it easy to check progress without opening the bag. If you're impatient, you can place the bag in a warm spot like on top of your refrigerator rather than waiting for room temperature to do its work. Just be sure to check daily—sometimes seeds sprout faster than expected!
Storage Wisdom: For the 24-48 hour final drying in Step 3 before storage, I like to spread seeds on a clean kitchen towel in a single layer. This allows any remaining moisture to evaporate completely. When storing in Step 4, consider adding a small packet of rice to your containers alongside the silica gel—rice absorbs moisture and lasts longer than silica gel packets, which can lose effectiveness over time.
Pro Tips for The Seed Savers
- Here's what nobody tells you about making sure every seed you save is ready for next season.
- Pod Maturity Matters: The crumble test in Step 1 is your best friend—if pods don't crumble slightly between your fing...
- Drying Strategy: When spreading pods to dry in Step 1, I recommend using a mesh screen over a baking sheet rather tha...
Frequently asked questions
Got questions about saving seeds from twist-free pods?
You’re not alone! Here are answers to the most common queries to help you succeed as a seed saver.
What makes a pod "twist-free," and why does it matter?
Twist-free pods (like those from Lobularia maritima or Calendula) stay intact when dry, preventing seed loss. This makes them ideal for beginners—no messy shattering! Look for pods that open naturally or stay closed until fully mature. Always check your plant’s variety to confirm.
How do I know when pods are ready to harvest?
Harvest when pods turn dry, brown, or papery (depending on the plant). For twist-free pods, gently squeeze—if seeds rattle inside, they’re ready! Avoid harvesting too early (seeds won’t germinate) or too late (pods may crack open). Pro tip: Harvest on a dry day to prevent mold.
Can I save seeds from store-bought flowers?
Yes, but with caveats! Store-bought seeds may be hybrids (F1), meaning they won’t grow true to type. For reliable results, save seeds from heirloom or open-pollinated plants. If unsure, ask the seller or check seed packets for "open-pollinated" labels.
What’s the best way to clean and store twist-free seeds?
Let pods dry completely (1–2 weeks in a paper bag). Then, gently crush them to release seeds, and winnow (blow away chaff) using a fan or sieve. Store seeds in a cool, dark, dry place (like a jar with silica packets) for up to 3 years. Label everything!
My pods cracked open before I could harvest—now what?
Don’t panic! Scatter seeds on dry paper and let them dry naturally. If birds or wind stole some, try growing extra plants next year. To prevent future losses, harvest pods early (when slightly dry but still closed) or cover plants with mesh bags.
Wrapping up and next steps
Seed saving isn’t just a skill—it’s a gift to future gardens and our planet! 🌱 By mastering twist-free pods, you’ve unlocked the secret to high-quality, viable seeds year after year. Whether you’re a backyard gardener or an eco-conscious enthusiast, your efforts help preserve biodiversity and reduce waste.
Ready to take the next step? Share your saved seeds with local seed libraries or swap with fellow gardeners—because community grows stronger together! 🌍✨