
Lawn
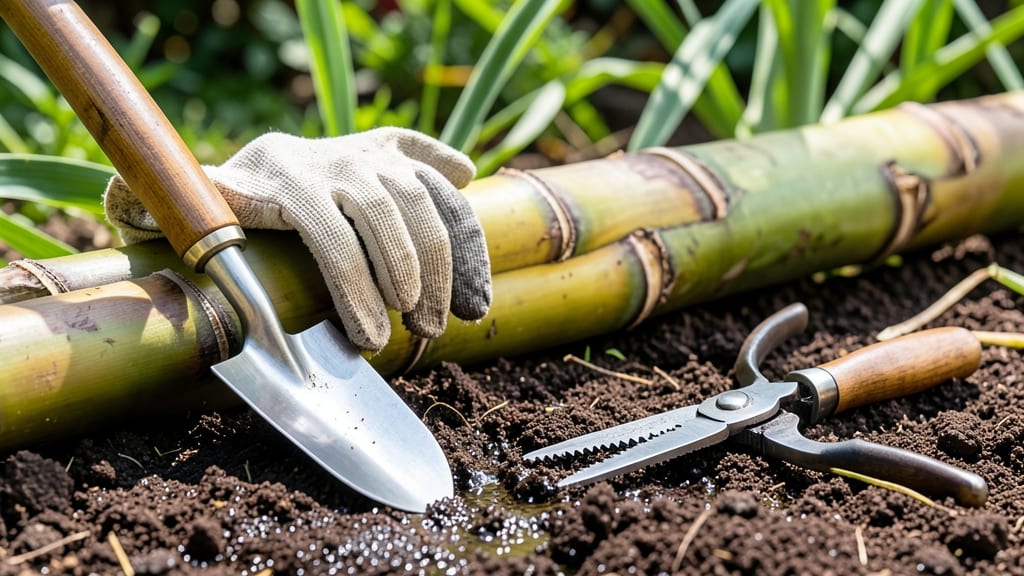
Growing sugarcane from seed cane means homegrown sweetness without the store-bought hassle. 🌱 I've propagated my own for three years now, and the process is simpler than you'd think—no greenhouse needed, just a sunny spot and a few key steps.
The first harvest comes faster than you'd expect, with stalks ready in just 6-8 months under the right conditions.
Start with 12-18 inch sections of mature cane—look for thick, firm stalks with at least 3-4 buds per section. Plant them 2 inches deep in warm soil (70°F+), spacing rows 3 feet apart to give roots room to spread.
The key is moisture: keep soil damp but not soggy until roots establish, which happens within 4-6 weeks.
You'll see new shoots emerge within 2-3 weeks, and by midsummer, your cane will tower 10+ feet tall. The stalks thicken as they grow, and you can harvest year-round in warm climates or late fall before frost in cooler zones.
The first harvest tastes sweeter than anything you'll find commercially.
Watch for borers and rust fungus—both love young cane. Prevent them with neem oil sprays every 2 weeks until stalks harden. Mulch heavily to retain moisture and suppress weeds, and you'll have a low-maintenance crop that keeps producing for years. Ready to get started?
📚 In This Guide
- What you need
- Instructions
- Tips and common mistakes
- Wrapping up and next steps
What you need
- ● Sugarcane seed cane: 3–5 healthy, disease-free stalks (12–18 inches long, with 2–3 buds per stalk).
- ● Well-draining soil: Sandy loam or a mix of topsoil + compost (pH 5.5–7.5).
- ● Containers or garden bed: Containers: 5–7 gallon pots with drainage holes (1 per stalk).
- ● Garden bed: Full sun (6+ hours/day) and space for stalks to spread (3–4 feet apart).
- ● Watering can or hose: For consistent moisture (avoid soggy soil!).
- ● Organic fertilizer: Balanced 10-10-10 or compost tea (apply at planting + monthly).
- ● Pruners or sharp knife: For trimming seed cane to size.
- ● Mulch: Straw or wood chips (2–3 inches) to retain moisture.
- ○ Trellis or stakes: (Optional) For vertical growth in small spaces.
- ● pH test kit: To monitor soil acidity (adjust with lime/sulfur if needed).
- ● Shade cloth: (For hot climates) to protect young shoots.
How to propagate sugarcane from seed cane
Here's my foolproof method for growing sugarcane from cuttings—no special equipment needed, just patience and the right timing.
🌱 Step 1: Select and Prepare Healthy Seed Cane
Choose mature sugarcane stalks that are at least 12-18 inches tall and show no signs of disease or pests. Cut 6-8 inch sections with at least 2-3 nodes (those swollen bumps where leaves attach). These nodes are where roots and shoots emerge, so they're critical for success.
Strip off all but the top two leaves to reduce moisture loss and prevent rot. I like to make a shallow cut just below a node with a clean knife—this helps stimulate root growth. Soak the cuttings in warm water for 24 hours to kickstart the rooting process. You'll see tiny bubbles forming along the nodes, which means the cane is waking up and preparing to grow.
🪴 Step 2: Plant in Well-Draining Soil Mix
Use a light, sandy soil mix that drains quickly—sugarcane roots rot easily if they sit in soggy conditions. I blend equal parts potting soil, perlite, and coarse sand for perfect drainage. Fill containers or plant directly in the ground in a spot with full sun exposure (6+ hours daily).
Plant the cuttings at a 45-degree angle, burying about half the stalk with the top node just above soil level. This angled planting encourages both root and shoot growth simultaneously. Space plants 18-24 inches apart to allow room for the thick stalks to mature. Water gently but thoroughly after planting to settle the soil around the cane.
💧 Step 3: Maintain Consistent Moisture and Warmth
Keep the soil consistently moist but never waterlogged—sugarcane needs steady hydration but hates soggy roots. I water every 2-3 days until I see new growth, then adjust based on rainfall. Mulch around the base with straw or wood chips to retain moisture and regulate soil temperature. Sugarcane thrives in 75-90°F conditions, so if your climate dips below 60°F, consider using a cloche or row cover to protect young plants.
You'll notice tiny shoots emerging from the top nodes within 2-4 weeks. This is your cue that rooting has begun. Once shoots reach 6 inches tall, you can gradually reduce watering to encourage stronger stalk development. Avoid fertilizing during the first month—you want roots to establish before pushing new growth.
☀️ Step 4: Provide Full Sun and Prune for Bushier Growth
Sugarcane needs full sun exposure to develop sweet, thick stalks. If you notice stalks leaning toward the light or growing leggy, rotate the containers or move the plants every few days. I also pinch off the top shoot when it reaches 12 inches tall to encourage bushier growth from lateral shoots. This creates a thicker clump of stalks, which means more harvestable cane.
Remove any yellowing or diseased leaves immediately to prevent spread. Healthy leaves should be a vibrant green with a slight waxy coating. As the plants mature, you'll see the classic sugarcane joints forming—these are the thickened sections where sugar accumulates. Harvest canes when they reach 18-24 inches tall for maximum sweetness, or let them grow larger for bigger yields.
⏰ Step 5: Harvest and Prepare for Year-Round Growth
Cut stalks at the base with clean shears or a sharp knife. You can harvest individual stalks as they mature, but leaving a few to grow larger will give you more seed cane for next season's propagation. After harvest, water the remaining plants deeply to encourage regrowth. Sugarcane is a perennial in warm climates, so with proper care, you'll get multiple harvests per year.
For overwintering in cooler climates, dig up the entire clump before the first frost and store it in a cool, dark place with the soil slightly moist. In spring, replant the dormant stalks and watch for new shoots within a few weeks. The key to year-round harvests is consistent care—once established, sugarcane is remarkably low-maintenance and rewarding.
Tips & tricks for perfect sugarcane propagation
These insider tricks will help you avoid common pitfalls and maximize your sugarcane harvest from the very first cutting.
Node Selection Matters: When choosing your 6-8 inch cuttings, look for nodes that are plump and free of dark spots or cracks. The top two nodes are most critical for root and shoot development—if you see any damage here, trim the cutting shorter to keep only healthy nodes. I've found that cuttings with three or more healthy nodes establish roots twice as reliably. This initial selection makes all the difference in whether your propagation succeeds or fails.
Soaking Secret: That 24-hour warm water soak isn't just about hydration—it's a biological trigger. The warm water (around 75°F) activates enzymes in the nodes that prepare for root growth. You'll see tiny bubbles forming along the nodes as oxygen is released during this process. For best results, use room-temperature water that's been warmed slightly—cold water slows this activation. Pro tip: Change the water halfway through the 24 hours to prevent bacterial buildup.
Planting Angle Technique: The 45-degree angle isn't just arbitrary—it creates the perfect balance between root development and shoot growth. When you bury half the stalk, you're positioning the nodes at soil level where they'll encounter optimal moisture and temperature. I've noticed that cuttings planted vertically often produce fewer roots, while those planted too horizontally may rot at the buried nodes. This angled approach gives you the best of both worlds.
Sunlight Strategy: Sugarcane's love for full sun (6+ hours daily) is non-negotiable, but how you provide it matters. If you're growing in containers, rotate them every few days to prevent stalks from leaning toward the light source. I've seen plants that grew perfectly straight by simply turning the pots 90 degrees every morning. This simple rotation creates more uniform growth and prevents the leggy, weak stalks that often result from one-sided light exposure.
Pro Tips for Sugarcane Seed Cane
- These insider tricks will help you avoid common pitfalls and maximize your sugarcane harvest from the very first cutt...
- Node Selection Matters: When choosing your 6-8 inch cuttings, look for nodes that are plump and free of dark spots or...
- Soaking Secret: That 24-hour warm water soak isn't just about hydration—it's a biological trigger. The warm water (ar...
Frequently asked questions
Got questions about growing sugarcane from seed cane? Here are some of the most common ones—and their answers—to help you get started with confidence!
What’s the best time of year to plant sugarcane seed cane?
Plant sugarcane seed cane in early spring (after the last frost) for the best results. In warmer climates (zones 9-11), you can plant year-round, but avoid extreme heat or cold. Seedlings need consistent moisture, so timing matters—aim for when soil temps are above 60°F (15°C).
How often should I harvest sugarcane seed cane?
Harvest only mature stalks (12+ months old) for seed cane. Cut stalks at ground level, leaving 2-3 inches for regrowth. For year-round harvests, stagger plantings every 2-3 months. Avoid over-harvesting—healthy plants need energy to regenerate!
Why isn’t my sugarcane growing? Troubleshooting tips.
Common issues and fixes:
- Slow growth: Check soil moisture (drought stress stunts growth). Mulch to retain humidity.
- Yellowing leaves: Likely nutrient deficiency (add compost or potassium-rich fertilizer).
- Pests (e.g., borers): Use neem oil or insecticidal soap. Remove damaged stalks immediately.
- No stalks forming: Ensure full sun (6+ hours/day) and warm soil temps.
Can I grow sugarcane from store-bought stalks?
Yes! Buy organic sugarcane stalks (avoid processed sugar products). Cut into 12-inch sections with 2-3 nodes (buds), soak in water for 24 hours, and plant. For best results, use certified seed cane from nurseries to avoid diseases.
How deep and far apart should I plant seed cane?
Plant cuttings 2-3 inches deep in well-drained soil, spacing rows 3 feet apart and plants 12-18 inches apart. This gives roots room to spread and stalks enough sunlight. In containers, use large pots (10+ gallons) for each stalk.
Wrapping up and next steps
Growing sugarcane from seed cane is a rewarding way to ensure a steady, year-round harvest with minimal stress! By following the right steps—selecting healthy seed cane, preparing the soil, and maintaining proper care—you’ll enjoy lush, productive plants that thrive in your climate.
Whether you're a beginner or a seasoned gardener, this method opens doors to sustainable sugarcane cultivation, so why wait?
Ready to take the next step? Start small—plant a few seed canes today and watch your garden transform into a sweet, green oasis! 🌱✨