
Lawn
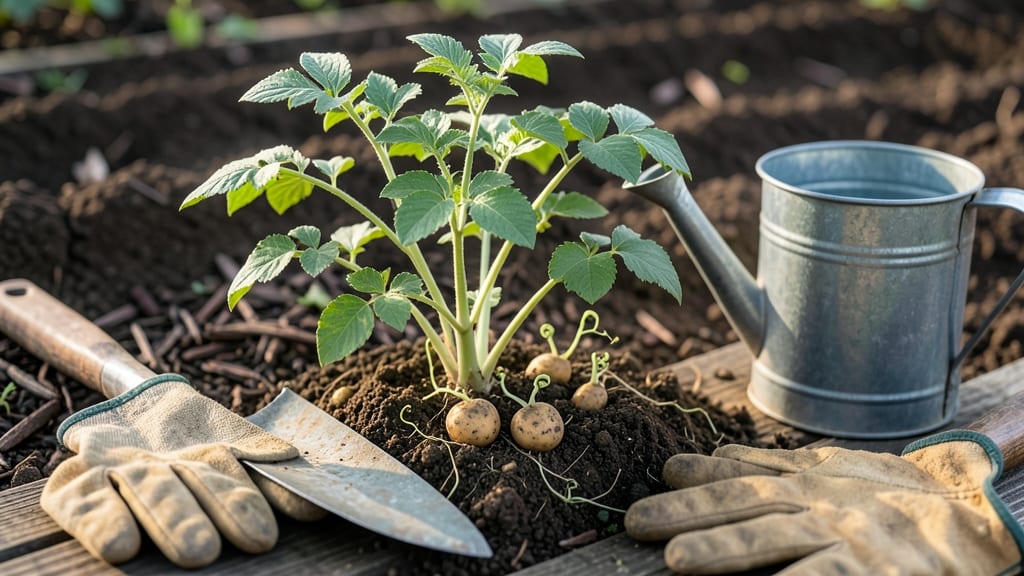
Sprouting seed potatoes transforms floppy tubers into sturdy plants ready to hit the ground running. 🌱 I’ve chitted potatoes for years, and those little green shoots make all the difference—plants establish faster, yield more, and resist disease better than unsprouted tubers.
The process takes just 4 weeks of patience and a windowsill, with no fancy equipment needed.
Here’s the secret: light and warmth work together. Place your seed potatoes in a bright spot (a sunny window or under grow lights) where temps stay between 50-60°F.
The key is keeping them upright—just balance them on a tray or lay them on their sides with the "rose end" (where sprouts emerge) facing up. You’ll see tiny green shoots in about 2 weeks, and those are your ticket to a stronger harvest.
By planting these pre-sprouted potatoes, you’ll skip the slow start of unsprouted tubers. Roots form faster, vines thicken sooner, and you’ll see earlier blooms and more tubers come harvest time.
The best part? No extra work—just watch those shoots grow until planting day. Perfect for gardeners who want a head start without the fuss.
Works in any climate, from cool mountain gardens to hot summer plots. The only rule? Don’t let those sprouts get leggy—plant them before they stretch too tall. Ready to grow potatoes that outperform the store-bought kind?
📚 In This Guide
- What you need
- Instructions
- Tips and common mistakes
- Wrapping up and next steps
What you need
- ● Seed potatoes: 5–10 medium-sized, certified organic or disease-free potatoes (look for varieties like Yukon Gold, Red Pontiac, or Kennebec).
- ● Containers: 5–10 shallow trays, buckets, or pots (6–8 inches deep) with drainage holes.
- ● Potting mix: 5–10 gallons of well-draining, seed-starting mix (avoid garden soil—it can harbor diseases).
- ● Watering can or spray bottle: For gentle hydration (overwatering is a common pitfall!).
- ● Sunlight access: A sunny windowsill, grow light, or outdoor space with 6+ hours of direct sunlight daily.
- ● Scissors or knife: For cutting potatoes (if using larger ones).
- ● Grow lights (if natural light is limited).
- ● Fertilizer (balanced 10-10-10 or compost tea for a nutrient boost).
- ● Plastic wrap (to create a mini greenhouse and retain moisture).
- ● Twine or clips (to secure containers if they’re lightweight).
- ● Label markers (to track potato varieties).
Step-by-Step instructions for growing potatoes from seed in containers
Skip the grocery store and grow your own potatoes in just four weeks—no spuds required!
🌱 Step 1: Select and Prep Your Seed Potatoes
Choose organic seed potatoes labeled for your climate zone. Look for small, firm potatoes with 2-3 eyes (dormant buds) each—these will grow into full plants. Cut larger potatoes into 2-inch chunks, ensuring each piece has at least one eye. Let the cut pieces dry for 24 hours to prevent rot.
Place your seed potatoes in a bright, cool spot (60-65°F) for 2-3 weeks to encourage early sprouting. You’ll see tiny green shoots emerge—this tells you they’re ready for planting. Avoid direct sunlight during this stage, or the sprouts will grow leggy and weak.
🪴 Step 2: Set Up Containers for Fast Growth
Use 5-gallon buckets or deep containers (at least 12 inches tall) with drainage holes. Fill the bottom 6 inches with well-draining soil (a mix of potting soil and compost works well). Place your seed potatoes, eyes facing up, on top of the soil—don’t bury them yet. This method, called "hill growing," saves space and speeds up harvests.
Cover the potatoes with 2-3 inches of soil, leaving the topmost sprouts exposed. Water gently until the soil is moist but not soggy. The goal is to keep the potatoes damp without drowning them. You’ll add more soil as the plants grow—this encourages stronger roots and more tubers.
☀️ Step 3: Provide Light and Water for Vigorous Growth
Move your containers to a sunny spot where they’ll get 6-8 hours of direct sunlight daily. If you’re growing indoors, supplement with a grow light kept 6-12 inches above the plants. You’ll notice the sprouts turn a deeper green and grow faster—this means they’re thriving.
Water once a week, soaking the soil until water drains from the bottom. Let the top 1-2 inches of soil dry out between waterings to prevent rot. As the stems grow 6-8 inches tall, add 2-3 more inches of soil, burying the lower stems. Repeat this process every 2 weeks until the container is full. This "hilling" trick produces more potatoes and prevents greening (which makes them bitter).
⏰ Step 4: Harvest When Plants Flower or Die Back
Your potato plants will bloom with white or purple flowers in 4-6 weeks. When the flowers fade or the foliage yellows and dies back, it’s time to harvest. Gently empty the container and sift through the soil to find your potatoes—some may be small, but others will be ready to eat!
For the best flavor, let newly harvested potatoes cure in a dark, dry place for 1-2 weeks before storing. This dries the skin and deepens their taste. Save the largest, healthiest potatoes to replant next season—your future harvests will be even bigger.
Tips & tricks for sprouting seed potatoes
Here's what I learned after growing my own potatoes—these tricks will help you avoid common pitfalls and get the best harvest.
Eye Selection: When choosing seed potatoes, look for ones with 2-3 eyes that are evenly spaced. These will grow into stronger plants. I always avoid potatoes with deep eyes or cracks, as they can rot during the 24-hour drying period after cutting. The eyes should be firm and not sunken—this ensures healthy sprouting during the 2-3 weeks in your cool spot.
Temperature Matters: That 60-65°F range for sprouting is critical—too warm and your sprouts will grow leggy, too cool and they'll take forever. I keep mine near an east-facing window where morning sun warms them gently. If your home is warmer, move them to a cooler spot like a basement or garage. You'll notice the sprouts turn a vibrant green when they're ready for planting.
Hilling Technique: The "hilling" method in Step 3 isn't just about adding soil—it's about creating an ideal environment for tuber formation. Every 2 weeks, bury those lower stems completely. This mimics natural growing conditions and produces more potatoes. I use a small shovel to gently mound soil around the stems, being careful not to damage the delicate foliage.
Lighting Strategy: For indoor growers, position your containers where they'll get 6-8 hours of direct sunlight daily. If natural light isn't enough, a simple LED grow light on a timer works wonders. I keep mine 6-12 inches above the plants and set it for 12-14 hours per day. The plants will tell you when they're happy—they'll grow upright and develop deep green leaves.
Pro Tips for Sprouting Seed Potatoes
- Here's what I learned after growing my own potatoes—these tricks will help you avoid common pitfalls and get the best...
- Eye Selection: When choosing seed potatoes, look for ones with 2-3 eyes that are evenly spaced. These will grow into ...
- Temperature Matters: That 60-65°F range for sprouting is critical—too warm and your sprouts will grow leggy, too cool...
Frequently asked questions
Got questions about sprouting seed potatoes?
You’re not alone! Here are answers to the most common queries to help you grow lush, edible greens with ease—no sprouts required.
What’s the best time of year to start sprouting seed potatoes?
For indoor greens, you can start anytime! However, aim for late winter to early spring (February–March) for a head start before outdoor planting. If growing outdoors, wait until after the last frost when soil temps hit 45°F (7°C)—this avoids frost damage to tender greens.
How long does it take for seed potatoes to sprout greens?
With the right conditions (light, warmth, and moisture), you’ll see 1–2 inch (2.5–5 cm) greens in 2–3 weeks. Full harvest-ready shoots (6–12 inches) take 4–6 weeks. Patience pays off—consistent care speeds up growth!
Are potato greens safe to eat?
Yes, but only if harvested young and from organic/seed potatoes (avoid store-bought spuds—they’re treated with sprouting inhibitors). Greens taste mildly bitter, like spinach or asparagus. Harvest leaves at 6–12 inches to avoid bitterness (a sign of solanine buildup).
What if my seed potatoes rot or mold?
Overwatering or poor drainage causes rot. Use well-draining containers (like a tray with holes) and keep soil moist but not soggy. If you spot mold (fuzzy or black spots), remove affected tubers immediately. For prevention, use sterilized potting mix and avoid overcrowding.
Can I reuse sprouted seed potatoes for planting later?
After harvesting greens, let the potato recover for 2–3 weeks in a dark, cool place. It’ll regrow eyes, and you can replant it in soil for a full harvest. Just avoid over-harvesting—leave enough foliage for energy storage.
Pro Tip:
For faster greens, place your container near a south-facing window or under a grow light (12–14 hours/day). Rotate tubers weekly for even growth!
Wrapping up and next steps
Growing sprouting seed potatoes is a rewarding way to add lush, eye-catching greens to your lawn—no sprouts required! 🌱 With just a few simple steps, you can transform ordinary potatoes into vibrant foliage that thrives in just four weeks.
Whether you're a gardening newbie or a seasoned green thumb, this method is easy, cost-effective, and perfect for enhancing your outdoor space.
Now that you’re armed with the know-how, take the plunge and start your potato greens project today! Grab your seed potatoes, pick a sunny spot, and watch your lawn transform into a stunning, natural masterpiece. Happy growing! 🌿✨