
Lawn
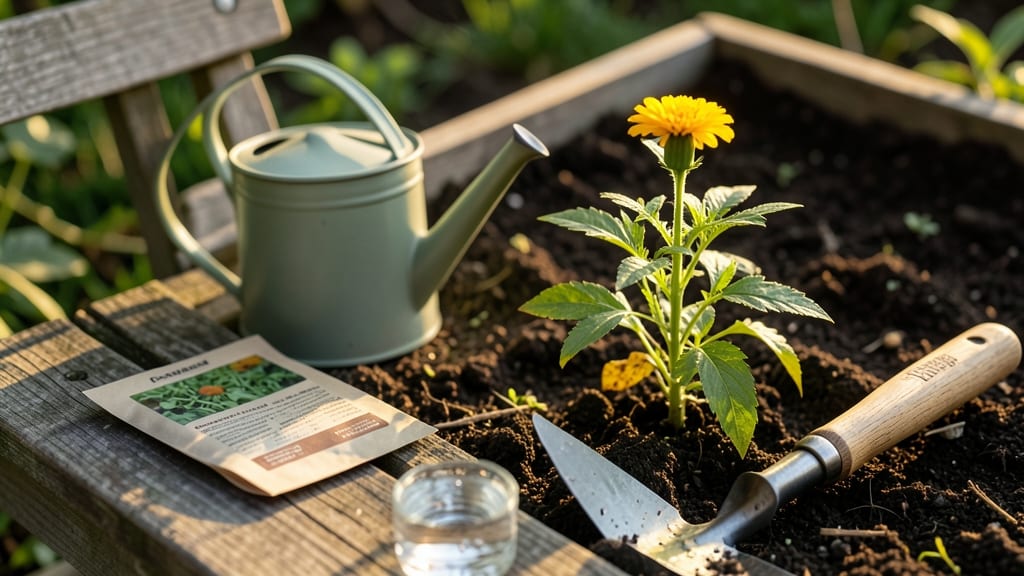
Growing a lawn from scratch comes down to three things: soil seed and water—and getting them right means the difference between a patchy mess and a lush, vibrant carpet of grass. 🌱 I remember my first attempt where I planted seed in hard-packed soil and drowned it with too much water—total disaster.
The science isn’t complicated, but the mistakes can be costly. Good soil is the foundation, and it’s not just about dirt—it needs to be loose, well-draining, and rich in nutrients. Test your soil first (or just amend with compost) to give roots room to breathe.
Then choose seeds suited to your climate and sunlight—cool-season grasses like fescue thrive in northern regions, while Bermuda grass dominates southern lawns. Watering isn’t about daily sprinkles; deep, infrequent watering encourages strong roots. When you nail these three elements, you’ll see thick, green growth in just a few weeks.
The grass will handle heat, drought, and foot traffic better, and you’ll spend less time patching bare spots. Even my neighbor’s skeptical “that’ll never work” turned into envy when my lawn outlasted his. This formula works for new lawns, repairs, or even container grass.
Start with the soil, pick the right seed, and water wisely—then sit back and watch nature do the rest.
📚 In This Guide
- What you need
- Instructions
- Tips and common mistakes
- Wrapping up and next steps
What you need
- ● High-quality lawn seed: Choose a seed blend tailored to your climate and grass type (e.g., Kentucky Bluegrass, Fescue, or Bermuda). Aim for 10–15 lbs per 1,000 sq ft for new lawns.
- ● Topsoil or compost: 2–4 inches of nutrient-rich soil or compost to improve drainage and fertility.
- ● Organic fertilizer: A balanced, slow-release fertilizer (e.g., 10-10-10 or 20-20-20 NPK ratio) to kickstart growth.
- ● Mulch or straw: ¼ inch layer to retain moisture and protect seeds during germination.
- ● Water: Access to a hose, sprinkler, or irrigation system with a fine mist nozzle for gentle watering.
- ● Lawn rake: A bendable-tine rake to level soil and remove debris.
- ○ Broadcast spreader: For even seed distribution (manual or optional electric).
- ● Garden hose with adjustable nozzle: Essential for watering (look for a showerhead or sprinkler attachment).
- ● Gloves & knee pads: Protect your hands and joints during prep work.
- ○ Soil test kit (optional): To check pH and nutrient levels before planting.
- ○ Lawn roller (optional):strong> A lightweight roller to press seeds into soil for better contact.
- ● Clear the area of weeds, rocks, and debris.
- ● Check local weather for the best planting window (spring or early fall is ideal).
- ● Ensure proper sunlight exposure (most grasses need 6+ hours of sun daily).
Step-by-Step instructions for a science-backed lawn
Here's how to grow a thick, resilient lawn using proven techniques that work every time.
🌱 Step 1: Prepare the Soil for Optimal Seed Germination
Start by removing any existing grass, weeds, or debris using a sod cutter or shovel. I like to work in small sections—about 4 feet by 4 feet—to keep the soil loose and aerated. Once the area is clear, loosen the top 4-6 inches of soil with a garden fork or tiller. This breaks up compacted layers where roots can't penetrate easily.
Smooth out the surface with a rake, removing any large clumps or rocks. The goal is a level, fine-textured bed where seeds can make direct contact with the soil. I always do a final check by walking across the area—if it feels bumpy underfoot, I rake again until it's even. This step ensures seeds won't settle into low spots where they'll rot instead of sprout.
💧 Step 2: Spread Seed Evenly for Uniform Growth
Divide your seed into two equal portions—this lets you spread in two perpendicular directions for even coverage. I use a broadcast spreader set to the recommended rate for your seed type, walking in one direction first, then perpendicular to the first pass. Overlapping slightly ensures no bare patches.
Lightly rake the area again to press seeds into the soil without burying them too deep. Most grass seeds need only ¼ inch of soil coverage—any deeper and they won't have enough energy to reach the surface. I like to do a quick visual check by looking for seeds still visible on the surface; if I see many, I'll rake just enough to cover them.
☀️ Step 3: Water Gently but Consistently for Germination
Water immediately after seeding with a fine mist setting on your hose or sprinkler. The soil should stay moist but never soggy—think of a damp sponge, not a dripping one. I water for about 10-15 minutes the first day, then check the top inch of soil daily. If it feels dry, water again until moisture reaches ¼ inch deep.
For the first 2-3 weeks, keep the soil consistently moist by watering lightly every morning. You'll know you're doing it right when the surface stays dark and damp but doesn't form puddles. Avoid heavy watering, which can wash away seeds or create crusts that block germination. Watch for the first green shoots—usually within 7-14 days—as your signal that the seeds are sprouting.
🌿 Step 4: Maintain Moisture and Monitor Early Growth
Once seedlings reach about 2 inches tall, gradually reduce watering frequency but increase duration. Now you're aiming for ½ inch of water per week, delivered in deep soakings rather than light sprinkles. I water in the early morning to allow foliage to dry before evening, which helps prevent fungal diseases.
Use a lawn roller lightly if the area feels uneven after germination. This helps press new roots into the soil for stability. Keep an eye out for thin or patchy spots—these often mean uneven seed distribution or dry soil. If you see yellowing or wilting, check the soil moisture immediately; grass roots need consistent moisture to establish properly.
⏰ Step 5: Transition to Mature Lawn Care Routine
After 4-6 weeks, when grass reaches 3-4 inches tall, it's time to mow for the first time. Set your mower blade to 3 inches—never remove more than ⅓ of the blade height at once. This encourages deep root growth and drought resistance. I always mow when the grass is dry to avoid clumping and disease spread.
From here, maintain a regular mowing schedule and water deeply 1-2 times per week, depending on rainfall. Fertilize according to your grass type's needs, usually in early spring and fall. The key now is consistency—your lawn will thicken and strengthen as roots establish deeper into the prepared soil.
Tips & tricks for perfect lawn establishment
These proven strategies will help you avoid common pitfalls and create the ideal foundation for your lawn.
Soil Preparation Secret: After loosening the top 4-6 inches of soil in Step 1, consider adding a thin layer (about ¼ inch) of compost mixed into the top 2 inches. This boosts nutrient availability for new roots without burying seeds too deeply. I've found this makes a noticeable difference in early growth vigor, especially in clay-heavy soils where drainage can be an issue.
Seed Distribution Technique: When dividing your seed into two equal portions for Step 2, don't just eyeball it—use a digital kitchen scale for accuracy. Grass seeds are tiny, and even small measurement errors can lead to patchy growth. For example, if your package calls for 5 pounds, each portion should weigh exactly 2.5 pounds. This precision ensures uniform coverage that matches the package's recommended rate.
Watering Watch: During the critical 2-3 week germination period in Step 3, I recommend setting a timer for your morning watering sessions. The 10-15 minute initial watering should create about ¼ inch of moisture penetration—you can verify this by checking how far water travels down a small soil probe. Too little water creates crusts that block seeds, while too much can wash them away. A consistent routine prevents both extremes.
Early Growth Monitoring: In Step 4, when your seedlings reach about 2 inches tall, pay special attention to the color of new growth. Healthy grass should have vibrant green blades with a slight blue-green tint when viewed in sunlight. Yellowing or purplish hues indicate either overwatering or nutrient deficiencies. At this stage, a light application of starter fertilizer (following package rates) can provide that extra boost without overwhelming tender new roots.
Pro Tips for Soil Seed And Water
- These proven strategies will help you avoid common pitfalls and create the ideal foundation for your lawn.
- Soil Preparation Secret: After loosening the top 4-6 inches of soil in Step 1, consider adding a thin layer (about ¼ inch) of compost mixed into the top 2 inches.
- Seed Distribution Technique: When dividing your seed into two equal portions for Step 2, don't just eyeball it—use a digital kitchen scale for accuracy.
Frequently asked questions
Got questions about growing the perfect lawn with soil, seed, and water? You’re not alone!
Here are answers to the most common queries to help you green up your space like a pro.
What’s the best soil type for seeding a lawn?
The ideal soil for seeding is loamy—a balanced mix of sand, silt, and clay that drains well but retains moisture. Test your soil’s pH (aim for 6.0–7.0) and amend with compost or organic matter if it’s too sandy or clay-heavy. DIY soil tests are cheap and easy!
When is the best time to seed a lawn?
Seed in early fall or spring when temperatures are mild (50–75°F) and rainfall is consistent. Avoid summer heat or winter frost, which can stress seedlings. Pro tip: Cool-season grasses (like fescue) thrive in fall, while warm-season grasses (like Bermuda) love spring.
How often should I water newly seeded grass?
Keep soil consistently moist (not soggy!) for the first 2–3 weeks. Water lightly 2x daily (morning/evening) to encourage germination. Once sprouts appear, reduce to 1 inch per week, including rainfall. Drip irrigation works best to avoid runoff.
Can I overseed an existing lawn, or should I start fresh?
Overseeding works for thin or patchy lawns—just mow low, rake debris, and spread seed. For bare spots, remove dead grass first. Starting fresh is better if your soil is compacted or overrun with weeds. Pro tip: Use a slit seeder for deeper seed contact.
Why did my seeds fail to sprout?
Common culprits: too much sun/drought, poor soil contact, or old/low-quality seed. Check for animals digging or fungus (white mold). Reseed thin areas in 2–3 weeks if conditions improve. Pre-emergent herbicides can also block germination—avoid them before seeding!
Wrapping up and next steps
Growing a lush, vibrant lawn isn’t just about luck—it’s a science-backed process rooted in understanding your soil, seed, and water. By mastering these three pillars, you’re not just nurturing grass; you’re cultivating a healthier ecosystem, one that thrives under your care. 🌱
Ready to see your efforts bloom? Start small—test your soil, choose the right seeds, and fine-tune your watering routine. Every drop and every grain of seed is a step toward the lawn of your dreams. Roll up your sleeves and get growing!