
Propagation
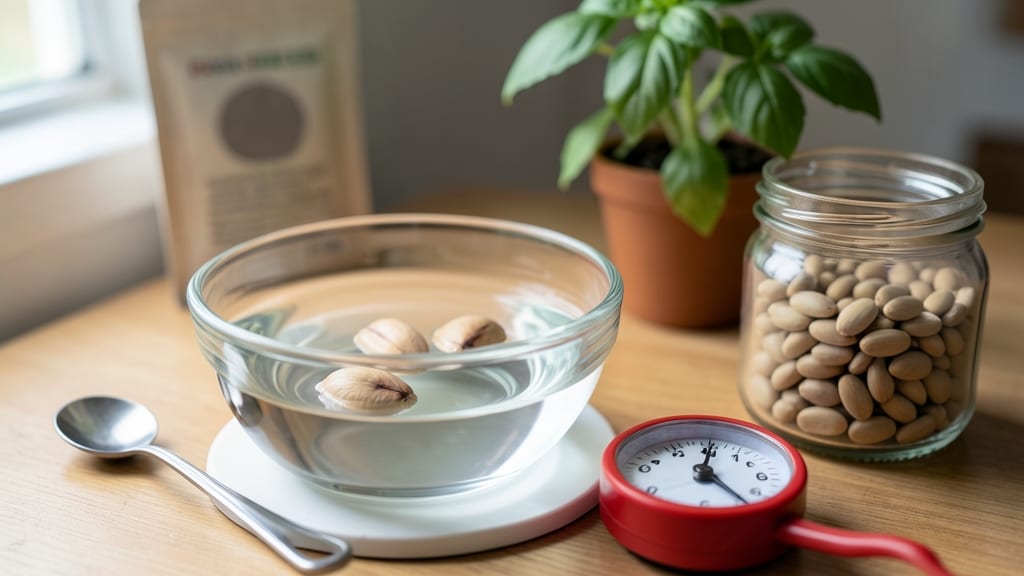
Soaking seeds before planting cuts germination time in half—sometimes even more. 🌱 The science is simple: seeds absorb water faster, soften their outer shells, and wake up their internal growth engines.
My first batch of soaked beans sprouted in just 3 days instead of the usual 10, and the seedlings were stockier from the start. You’ll need a bowl, clean water, and a paper towel or mesh bag to keep seeds contained.
Avoid tap water with chlorine—let it sit out overnight or use filtered water instead. Most seeds benefit from 4–12 hours of soaking, but never leave them overnight unless you’re dealing with hard-coated seeds like peas or beans.
The payoff is immediate: faster sprouts, stronger roots, and fewer weaklings that fizzle out. Soaked seeds also break through tough soil more easily, which is a game-changer for dense or compacted earth. Just don’t overdo it—some seeds, like tomatoes, only need a quick dip.
Works for everything from beans and peas to herbs and flowers, but always check seed packets. Now, let’s get those seeds growing!
📚 In This Guide
- What you need
- Instructions
- Tips and common mistakes
- Wrapping up and next steps
What you need
- ● Seeds: Any variety you’re sprouting (e.g., beans, lentils, sunflower, or chia). Pro tip: Start with 1–2 cups for testing!
- ● Water: Room-temperature or slightly warm (avoid hot water—100°F or below is ideal). Use filtered or distilled if possible.
- ● Soaking Container: A glass jar (quart-sized, with a lid or mesh screen)
- ● OR a wide-mouth mason jar with a fine-mesh sprouting lid (or a clean kitchen towel + rubber band)
- ● Draining Tool: A colander (stainless steel or plastic)
- ● OR a fine-mesh strainer (for rinsing post-soak)
- ○ Hydrogen Peroxide (3%): 1 tsp per quart of water (boosts germination and kills mold—optional but recommended for high-risk seeds like legumes).
- ● Germination Aid: Products like OxySeed or VeggieVitality (follow label instructions).
- ● Thermometer: To monitor water temperature (70–85°F is optimal).
- ● Label & Marker: Track seed types and soak times (especially if testing multiple varieties!).
- ● Time: Dedicate 6–12 hours for soaking (longer for large seeds like sunflower).
- ● Space: A clean, dry area (countertop or sink) for rinsing and draining.
- ● Patience: Germination speed varies—some seeds sprout in 24 hours, others take 3–5 days!
How to soak seeds for faster, healthier germination
Here's my foolproof method to break dormancy and get seeds sprouting strong in record time.
🌱 Step 1: Select the Right Seeds to Soak
Not all seeds need soaking—only those with hard seed coats or natural dormancy. Look for seeds labeled "hard-coated" or from plants like beans, peas, or sunflowers. I always check the packet first; if it doesn't specify, skip soaking unless you're dealing with stubborn varieties like tomatoes or peppers.
Pre-soaking won't harm most seeds, but it's unnecessary for delicate ones like lettuce or petunias. For these, a quick mist and warm spot work better. The key is knowing your seed type—hard-coated seeds need the extra hydration to soften their protective shell and trigger germination.
💧 Step 2: Prepare the Soaking Solution
Fill a clean container with lukewarm water—not hot, not cold, but comfortably warm to the touch. I use a shallow bowl or even a resealable plastic bag for small batches. Add a pinch of hydrogen peroxide (3%) to the water for every pint of liquid to prevent mold and bacteria growth during soaking.
Stir gently to mix, then let the water sit for 5 minutes before adding seeds. This gives the peroxide time to activate without over-saturating the solution. For seeds that need scarification (like some legumes), I might add a tiny bit of sandpaper to the container to gently rub the seed coats during soaking—but that's only for extra-tough varieties.
⏰ Step 3: Soak for the Correct Duration
Most seeds need 8-12 hours of soaking, but timing varies by type. I set a timer and place the container in a warm, dark spot—like the top of my fridge or inside a closed cabinet. The goal is to hydrate the seed without letting it dry out or develop mold. You'll know it's working when the seed coat softens and the seed feels slightly plump to the touch.
For seeds like chili peppers or tomatoes, I never exceed 12 hours—longer soaks can cause the seed to "overdrink" water and rot. If you're unsure about your seed type, check a reliable germination guide or stick to the 8-hour rule as a safe default. The seed should look swollen but not mushy when ready.
☀️ Step 4: Plant Immediately After Soaking
Drain the seeds thoroughly in a fine-mesh strainer or paper towel, shaking gently to remove excess water. Plant them within 30 minutes of draining—delaying planting lets them dry out and lose their hydration boost. I like to pre-moisten my seed-starting mix before planting soaked seeds to maintain consistent moisture.
Press each seed lightly into the soil at the correct depth (usually twice the seed's diameter). Cover with a thin layer of soil and mist gently with water. The seeds are now primed and ready to germinate faster—often within 24-48 hours for many varieties. Keep the soil warm (70-80°F) and moist until sprouts appear.
🌿 Step 5: Monitor for Germination and Adjust Care
Check your planted seeds daily for signs of sprouting. You'll see tiny white roots or a cracked seed coat first—this is your signal to reduce watering slightly. Overwatering now can cause damping-off, a fungal disease that kills young seedlings overnight. I use a spray bottle to keep the soil damp but never soggy.
Once the first true leaves appear (not the initial seed leaves), move the seedlings to bright, indirect light to prevent leggy growth. Soaked seeds often germinate faster, but they still need proper light and airflow to grow strong. Watch for any seeds that fail to sprout—sometimes they just need a little more patience or a different approach.
Tips & tricks for perfect seed soaking germination
Here's what nobody tells you—these little tricks can double your success rate with stubborn seeds.
The Seed Selection Secret: Always check the seed packet first! If it says "hard-coated" or lists varieties like beans, peas, or sunflowers, soaking is your best bet. But for delicate seeds like lettuce or petunias, skip the soaking entirely—these need gentle misting instead. I learned this the hard way after trying to soak lettuce seeds and watching them turn to mush.
Temperature Matters: That lukewarm water isn't just a suggestion—it's critical. Too hot and you'll kill the seeds; too cold and they won't absorb properly. Test it by dipping your wrist in—it should feel like a warm bath, not scalding. For the 8-12 hour soak, place your container in a warm spot (like on top of your fridge) to maintain consistent temperature.
The 30-Minute Planting Window: Don't let those soaked seeds sit out after draining! Plant them within 30 minutes or they'll start drying out. I keep my pre-moistened seed-starting mix ready in a small tray so I can plant immediately. This is where most people fail—they take too long between draining and planting, and all that hydration work goes to waste.
Visual Cues for Success: When your seeds are ready after 8-12 hours, they'll look noticeably plumper and the seed coat should feel slightly softer when pressed gently. For tough varieties like chili peppers, you might see tiny cracks forming—this is your signal that germination is about to kick in. If they look mushy instead of just swollen, you've over-soaked them.
Pro Tips for Seed Soaking Germination
- Here's what nobody tells you—these little tricks can double your success rate with stubborn seeds.
- The Seed Selection Secret: Always check the seed packet first! If it says "hard-coated" or lists varieties like beans...
- Temperature Matters: That lukewarm water isn't just a suggestion—it's critical. Too hot and you'll kill the seeds; to...
Frequently asked questions
Got questions about seed soaking and germination? You’re not alone! Here are answers to the most common queries to help you grow stronger, faster sprouts with confidence.
How long should I soak seeds before planting?
Most seeds benefit from a 6–12 hour soak in room-temperature water. Smaller seeds (like lettuce or radishes) need just 4–6 hours, while larger seeds (beans, peas) can handle up to 12 hours. Avoid over-soaking—never exceed 24 hours, or seeds may rot or sprout too early.
What if my seeds don’t sprout after soaking?
Don’t panic! Try these fixes:
- Check viability: Test old seeds by placing them in water—if they sink, they’re likely still good.
- Warmth & moisture: Place soaked seeds in a warm, damp paper towel in a sealed bag for 2–3 days.
- Scarify hard seeds: Lightly sandpaper or nick tough seed coats (e.g., tomatoes, peanuts) to help water penetrate.
Do I need to rinse seeds after soaking?
Yes! Rinse seeds thoroughly after soaking to remove excess water and prevent mold. Pat them dry with a clean towel before planting. For sprouting (not germination), rinse seeds 2–3 times daily to keep them hydrated and fresh.
Can I soak seeds in cold water?
Cold water slows germination, but it’s not harmful. For best results, use lukewarm water (70–80°F). Cold water may delay sprouting by 1–3 days, especially for temperature-sensitive seeds like peppers or cucumbers. If using cold water, extend soak time by 2–4 hours.
Are there seeds I shouldn’t soak before planting?
Some seeds don’t need soaking and may even rot:
- Onions, garlic, and potatoes (plant dry).
- Carrots, parsnips, and beets (soaking softens them too much).
- Seeds with hard coats (like tomatoes or peanuts) may need scarification instead.
Wrapping up and next steps
Mastering seed soaking and germination is your ticket to faster, healthier plants—whether you're a seasoned gardener or just starting! 🌱 By understanding the science behind hydration, temperature, and timing, you’ve unlocked a game-changing way to boost your sprouts’ success.
Now that you’re armed with techniques and troubleshooting tips, it’s time to put theory into action.
Ready to grow? Start with a small batch of seeds—like beans, lentils, or chives—and experiment with soaking times and methods. Track your progress, adjust as needed, and soon, you’ll be reaping the rewards of stronger, quicker germination every time. Happy growing! 🌿