
Lawn
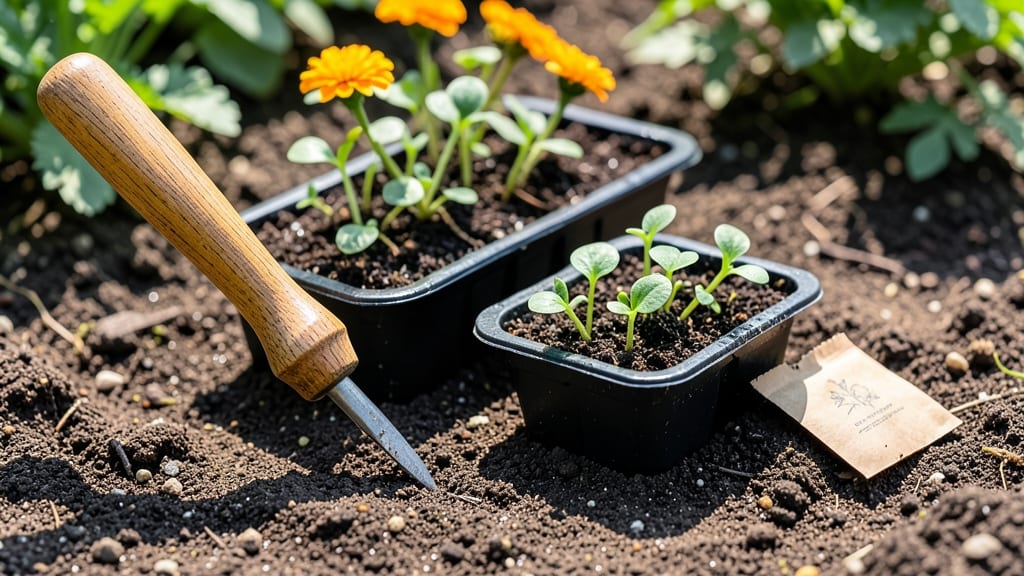
A seed dibber tool turns messy planting into perfectly spaced rows—no more guessing or overcrowded seedlings. 🌱 I used to squint at seed packets, poke holes with my finger, and end up with uneven rows that either drowned or dried out.
This simple tool changed everything by giving me consistent depth and spacing every single time. The magic is in the 1/4-inch to 1/2-inch spacing it creates—just adjust the depth and press.
It works for everything from tiny carrot seeds to larger beans, and the right dibber even has a seed guide to prevent double planting. No more counting seeds or struggling to keep rows straight in windy conditions.
You'll see seedlings emerge at the same time, grow uniformly, and compete less for nutrients. The payoff? Stronger plants, higher yields, and the satisfaction of rows that look like they were planted by a pro—not by a gardener with shaky hands.
Perfect for beginners, but even experienced gardeners swear by it for large-scale planting. Grab one before your next planting session—your future plants will thank you.
📚 In This Guide
- What you need
- Instructions
- Tips and common mistakes
- Wrapping up and next steps
What you need
- ● Seed dibber tool (pre-made): 1 x Adjustable or fixed-depth dibber (wooden, plastic, or metal; 6–12 inches long).
- ○ Optional: Ergonomic grip for comfort during long planting sessions.
- ● DIY dibber materials (if building your own): 1 x Wooden dowel (¼–½ inch diameter, 8–12 inches long). Pine or cedar works great!
- ● 1 x Drill (for precise hole sizing).
- ● 1 x Sandpaper (medium-grit, to smooth edges).
- ○ 1 x Non-toxic wood stain or paint (optional, for durability).
- ● Measuring tools: 1 x Ruler or tape measure (for marking seed spacing).
- ● 1 x Pencil or marker (to label rows).
- ● Seed spacing guide: Printed or digital seed spacing chart (tailored to your plants—e.g., 12" for tomatoes, 6" for carrots).
- ● 1 x Small hammer or mallet (to tap the dibber gently into soil).
- ● 1 x Garden kneeler or pad (for comfort during planting).
- ● 1 x Seed tray or flat (for organizing seeds by type).
- ● 1 x Spray bottle with water (to keep soil moist while planting).
- ● 1 x Gloves (to protect hands from thorns or dirt).
How to use a seed dibber for flawless planting spacing
Here's how I make spacing every seed identical—no more guessing or uneven rows.
🌱 Step 1: Mark Your Planting Rows First
Before touching the dibber, sketch your layout with a stick or string. For 4 rows, mark each row’s starting point with a small stake. I use a pencil to draw faint lines in the soil to guide me—this prevents drifting as I work. The key is consistency: measure 12-18 inches apart between rows (adjust based on mature plant size).
For example, tomatoes need 24 inches between rows while carrots thrive in 12-inch spacing. Tap the dibber into the soil at each starting point to create a tiny hole—this becomes your anchor. Real talk: if your lines aren’t straight, your dibber won’t help. Take 2 minutes to get this right.
🌱 Step 2: Load the Dibber and Set Your Spacing
Fill the dibber’s reservoir with seeds—3-4 at a time for most vegetables. Adjust the spacing guide on the dibber’s handle to match your seed packet’s recommendations (usually 1-3 inches apart, depending on the plant). I like to write the spacing on the dibber with a marker so I don’t forget.
Push the dibber into the soil at your marked starting point. The dibber will create a hole at the exact depth marked on its shaft (usually ½ inch deep for most seeds). Press firmly but gently—too much force compacts the soil around the seed. You’ll hear a satisfying click when it hits the right depth.
🌿 Step 3: Plant Seeds in Straight, Even Lines
Lift the dibber straight up—this ensures the hole stays open. Drop 1 seed per hole (don’t overcrowd!) and cover immediately by pressing the dibber back into the hole. The dibber’s design lets you plant and cover in one motion, saving time. I move in a steady rhythm: dibber down, seed drop, dibber press, repeat.
Walk along your marked row, keeping the dibber’s handle parallel to the line. For perfectly straight rows, step lightly and let your arm swing naturally—no need to force it. If you stray, just backtrack and adjust. The dibber’s uniformity means even if your hand isn’t steady, the seeds will be.
✂️ Step 4: Verify Spacing Before Covering Soil
After planting a 12-inch section, step back and check your work. The seeds should form a straight line with even gaps. If one hole looks too close or far, adjust the dibber’s spacing guide slightly and redo that section. I use a ruler to measure a few gaps—this catches mistakes before they spread.
Once satisfied, gently rake soil over the row to cover seeds. Avoid pressing down hard—you want the soil to settle naturally around the seeds. Water lightly with a spray nozzle (not a stream) to avoid dislodging seeds. Here’s the thing: a dibber won’t fix poor technique, but it amplifies good habits.
⏰ Step 5: Maintain Consistent Moisture for Germination
Keep the soil evenly moist until seeds germinate—not soggy, not bone-dry. The dibber’s precision means you won’t have to thin seedlings later, so germination rate matters. I water in the morning so the soil has time to dry slightly by evening, preventing rot. Watch for first true leaves (not the initial seed leaves) to appear in 7-14 days.
If you see uneven germination, it’s usually from inconsistent soil moisture or depth. The dibber ensures depth is perfect, so moisture is your only variable now. A light mulch layer (like straw) helps retain moisture without smothering seeds. Once seedlings emerge, you’ll see why the dibber was worth it—uniform, healthy starts every time.
Tips & tricks for perfect seed spacing with a dibber
Here's what nobody tells you about using a dibber—these tricks turn good planting into flawless results.
Precision Starts with Planning: Before you even touch the dibber, sketch your garden layout on paper first. This 2-minute prep prevents the frustration of crooked rows later. I use a tape measure to mark row spacing in the soil—this keeps me from eyeballing it, which is how uneven rows start. For example, if you're planting tomatoes with their 24-inch spacing, mark every other stake at 12 inches to avoid miscounting.
The Technique That Changed Everything: In Step 2, when you're pushing the dibber into the soil, let gravity do the work. Instead of forcing it down, just let it drop straight into the hole. This creates a clean, vertical hole every time without compacting the soil around the seed. I also recommend pressing the dibber down with your non-dominant hand—this gives you better control and keeps your rhythm steady. The satisfying click when it hits the right depth is your cue to drop the seed.
Common Mistake Fix: If your rows start to drift after planting a few seeds, stop and realign your dibber handle with the original line. I've ruined entire sections by ignoring this—once you're off by even an inch, the whole row suffers. Pro tip: walk backward as you plant, keeping your body parallel to the row. This helps you spot deviations immediately. And if you mess up? Just backtrack and fix it before moving forward.
Make-Ahead Move: For large gardens, prep your dibber in advance by marking all spacing guides with a permanent marker. I write the plant type and spacing directly on the dibber's handle so I don't have to consult seed packets mid-planting. This saves time and prevents confusion when switching between different seeds. Store your dibber in a dry place between uses—rust can ruin the precision of the spacing guides.
Pro Tips for Seed Dibber Tool
- Here's what nobody tells you about using a dibber—these tricks turn good planting into flawless results.
- Precision Starts with Planning: Before you even touch the dibber, sketch your garden layout on paper first. This 2-mi...
- The Technique That Changed Everything: In Step 2, when you're pushing the dibber into the soil, let gravity do the wo...
Frequently asked questions
Got questions about using a seed dibber tool? You’re not alone! Here are answers to the most common queries to help you plant with confidence.
What’s the best time of year to use a seed dibber?
A seed dibber works year-round, but timing depends on your plants. For cool-season grasses (like fescue or ryegrass), plant in early spring or fall when soil temps are 60–75°F. Warm-season grasses (like Bermuda or Zoysia) thrive in late spring or early summer when soil is warm. Always check seed packet guidelines!
Can I make a seed dibber at home if I don’t have one?
DIY options include:
- A wooden dowel (¼-inch diameter) sharpened at one end.
- A bamboo skewer or metal rod from a craft store.
- A plastic straw cut to 4–6 inches, weighted with a bead or clay.
Why are my seeds unevenly spaced after using the dibber?
Uneven spacing usually stems from:
- Pressing too hard (creates deep holes). Aim for ½-inch deep for most seeds.
- Angling the dibber sideways instead of straight down.
- Skipping the marking guide (use a string or grid for large areas).
Do I need to fertilize right after planting with a dibber?
Not immediately! Wait 4–6 weeks after germination before applying starter fertilizer. Over-fertilizing too soon can burn seedlings or attract pests. Lightly water the area after planting, then monitor soil moisture (keep it evenly damp, not soggy).
How do I adjust spacing for different seed types?
Spacing varies by seed size and growth habit. Use this quick guide:
Seed Type
Dibber Spacing
Depth
Grass seed (e.g., Kentucky Bluegrass)
½–1 inch apart
¼ inch
Carrot/Beet seeds
1–2 inches apart
½ inch
Tomato/Pepper seeds
1–2 inches apart (thin later)
¼ inch
Wrapping up and next steps
Mastering the art of precise planting with a seed dibber tool transforms your gardening game—no more guesswork, just perfectly spaced seeds every time! 🌱 Whether you're a seasoned gardener or just starting, this simple tool ensures healthier plants, stronger yields, and a lawn that’s the envy of the neighborhood.
Ready to elevate your green thumb skills?
Your next step? Grab your dibber, head outdoors, and put those seeds to work! Try planting a small section first, then expand as you gain confidence. Happy planting—your future garden will thank you! 🌿