
Propagation
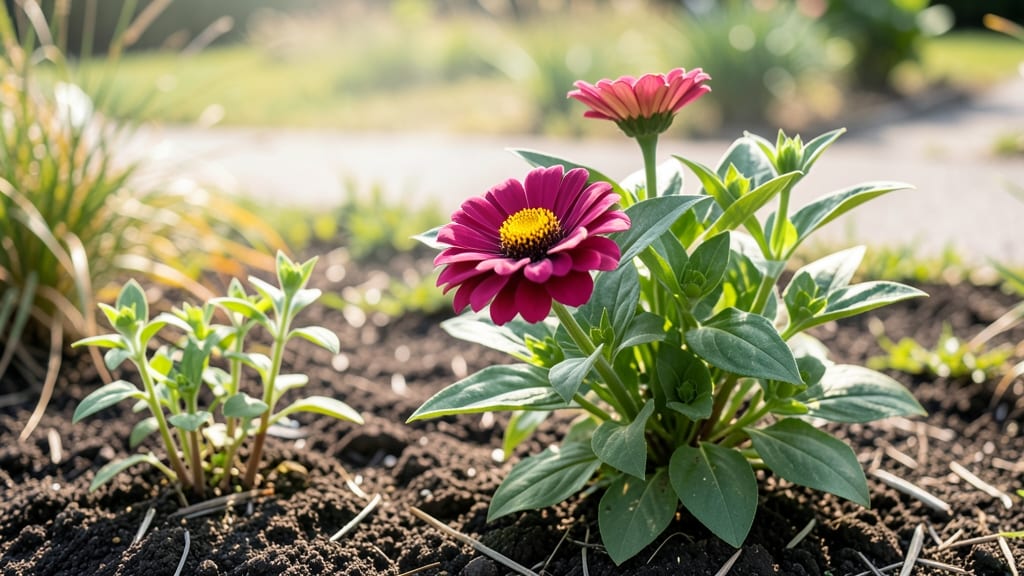
Growing from seed to blossom feels like magic—especially when you watch tiny specks in soil turn into fragrant, blooming plants. 🌱 I’ve turned this intimidating process into a foolproof routine by focusing on three key stages: germination, growth, and flowering.
The secret isn’t luck; it’s matching each phase to the plant’s needs.
Start with the right soil mix and containers—no fancy equipment needed. A simple tray with drainage holes and seed-starting mix works wonders. Water gently, keep warmth consistent, and give seedlings bright light (or a grow light) to prevent leggy stems. Most beginners overwater here, but damp—not soggy—soil is key.
By the time you’re pinching back seedlings and fertilizing for blooms, you’ll see vibrant green leaves and buds forming. The transition from seed to flower isn’t just about time—it’s about trusting the process. Even my first attempt with impatiens surprised me with bold pink blooms by summer.
This method works for annuals, perennials, and even tricky seeds like snapdragons. Whether you’re a beginner or refining your technique, the payoff is worth the patience. Let’s grow something stunning together!
📚 In This Guide
- What you need
- Instructions
- Tips and common mistakes
- Wrapping up and next steps
What you need
- ● Seeds: Choose high-quality, fresh seeds (e.g., marigolds, sunflowers, or snapdragons). Aim for 5–10 seeds to start.
- ● Seed-starting trays or containers: 2–4 biodegradable or plastic cell trays (72–128 cell size) with drainage holes.
- ● Seed-starting mix: 1–2 cubic feet of sterile, lightweight potting mix (avoid garden soil—it’s too dense!).
- ● Grow lights or sunlight access: LED grow lights (12–16 hours/day) or
- ● A sunny windowsill (south-facing, 6+ hours of light).
- ● Spray bottle: For gentle watering (16 oz with a fine mist nozzle).
- ● Humidity dome or plastic wrap: To retain moisture while seeds germinate.
- ○ Heat mat (optional but helpful): A seedling heat mat (70–80°F range) for faster germination.
- ● Plant labels: To track seed varieties (use toothpicks + masking tape!).
- ● Fertilizer: A balanced liquid fertilizer (5-5-5 or 10-10-10) for post-germination growth.
- ● Fans: A small oscillating fan to strengthen seedlings (prevents legginess!).
- ● Thermometer/hygrometer: To monitor temperature (65–75°F ideal) and humidity (40–60%).
- ● Transplanting tools: Small trowel, tweezers, or a butter knife for delicate seedlings.
Step-by-step guide to stress-free germination and thriving blooms
Watch your garden transform from tiny seeds to vibrant blossoms with this foolproof method.
🌱 Step 1: Select and Prepare Your Seeds
Choose seeds from a trusted source, focusing on varieties suited to your USDA hardiness zone and bloom time. I always check seed packets for days to germination—this tells me when to expect sprouts and when to adjust my schedule. For example, petunias typically sprout in 7-14 days, while snapdragons take 10-21 days.
Before sowing, soak seeds in lukewarm water for 12-24 hours if the packet suggests it. This softens the seed coat and speeds up germination. For seeds like marigolds, which have hard outer shells, this step is critical. After soaking, gently pat them dry with a paper towel—damp seeds stick together and create clumps when planting.
🪴 Step 2: Create the Ideal Germination Environment
Fill seed trays with a sterile seed-starting mix (never garden soil) and moisten it until it feels like a damp sponge. Press the mix down lightly to remove air pockets, then create small furrows or holes ¼ to ½ inch deep, depending on the seed size. I use the eraser end of a pencil to make precise holes—this prevents over-planting and ensures each seed gets proper spacing.
Place the trays in a warm location, ideally between 65-75°F. A seedling heat mat set to 70°F works wonders, especially in cooler climates. Cover the trays with clear plastic wrap or a humidity dome to trap warmth and moisture. Check daily for condensation—if you see water droplets forming on the plastic, your humidity is perfect. If the plastic stays dry, mist the soil lightly.
☀️ Step 3: Monitor and Support Early Growth
Once sprouts emerge, remove the plastic immediately to prevent damping-off, a fungal disease that causes seedlings to collapse. You’ll notice the first true leaves (not the initial seed leaves) appear in 2-4 weeks, depending on the plant. At this stage, move seedlings to a bright location with 12-14 hours of indirect light daily. A south-facing window or grow light keeps them from stretching leggy.
Water gently from the bottom by placing trays in ½ inch of water for 10-15 minutes. This encourages strong root development without disturbing tender stems. Avoid overhead watering—it washes away soil and can spread disease. You’ll know your watering is right when the soil surface looks slightly damp but not soggy.
🌿 Step 4: Harden Off and Transplant for Blooms
Two weeks before your last frost date, begin hardening off seedlings by placing them outside in a sheltered spot for 1-2 hours daily. Gradually increase their outdoor time over 7-10 days, eventually leaving them out overnight. This acclimates them to wind, sun, and temperature fluctuations. Watch for wilting or yellowing leaves—these are signs they’re not ready for the full transition.
Transplant seedlings into the garden or larger containers after all danger of frost has passed. Space them according to the packet’s recommendations, usually 12-24 inches apart for most annuals. Water deeply at the base to settle the soil and encourage root growth. Mulch with 1-2 inches of organic matter to retain moisture and suppress weeds. Within 6-8 weeks, you’ll see buds forming—your reward for patience!
Tips & tricks for perfect seed germination
Real talk: Germination can feel like waiting for a miracle—but these tricks will turn your patience into predictable success.
Seed Selection Strategy: Always verify your seeds' germination rates on the packet. If it says "85% germination," you can plant slightly more densely. For varieties with lower rates (like heirloom tomatoes), consider pre-sprouting in damp paper towels to confirm viability before planting. This saves you from wasting trays on seeds that might not sprout at all.
Temperature Matters: The ideal 65-75°F range is critical, but don't panic if your home runs cooler. A simple solution is to place your trays on top of the refrigerator (not inside) where it stays consistently around 70°F. For extra insurance, use a seedling heat mat set to 70°F—it's the closest thing to a greenhouse's warmth without the complexity. I've seen germination rates double when using this method with slower starters like snapdragons.
Lighting Hack: Those 12-14 hours of indirect light don't need to be direct sunlight. A simple LED grow light bulb (around $20) placed 6 inches above your seedlings works perfectly. Position it on a timer to automatically provide the right light cycle. The key is avoiding leggy seedlings—if they stretch toward the light, they're not getting enough intensity. Rotate trays daily for even growth.
Transplant Timing: The 6-8 week window to buds is flexible, but don't rush the hardening off process. I've seen seedlings collapse after transplanting because they weren't fully acclimated. Start with just 1-2 hours in shade, then gradually increase exposure. Watch for leaves that perk up after returning inside—that's your sign they're ready for more time outdoors.
Pro Tips for From Seed To Blossom
- Real talk: Germination can feel like waiting for a miracle—but these tricks will turn your patience into predictable ...
- Seed Selection Strategy: Always verify your seeds' germination rates on the packet. If it says "85% germination," you...
- Temperature Matters: The ideal 65-75°F range is critical, but don't panic if your home runs cooler. A simple solution...
Frequently asked questions
Got questions about nurturing your plants from seed to blossom? You’re not alone! Here are some of the most common queries—and their straightforward answers—to help you grow with confidence.
How long does it take for seeds to germinate?
Germination time varies by plant type. Fast growers like marigolds or radishes sprout in 5–7 days, while slower seeds (e.g., roses or trees) may take 2–4 weeks. Check your seed packet for specifics—consistent moisture and warmth (70–85°F) speed things up!
What’s the best time of year to start seeds indoors?
Timing depends on your climate and last frost date. For most flowers/veggies, start 6–8 weeks before frost (e.g., late winter for spring blooms). Cool-season crops (like kale) can go in earlier, while tropical plants (e.g., hibiscus) thrive year-round indoors. Use a seed-starting calendar for precision!
Why aren’t my seeds sprouting? Troubleshooting tips?
Seeds fail to sprout for a few common reasons:
- Too dry: Keep soil moist (not soggy)—mist lightly daily or use a humidity dome.
- Too cold: Use a heat mat (70–85°F) for slow starters like peppers.
- Old seeds: Test viability by soaking in water—if they sink, they’re likely still good!
- Light issues: Some seeds (e.g., lettuce) need light to germinate; others (like tomatoes) wait until sprouts appear.
Patience is key—some seeds take weeks to show life!
Can I use regular potting soil for seed starting?
Not ideal! Seed-starting mix is lighter, sterile, and well-draining to prevent damping-off disease. A blend of 50% peat moss, 30% perlite, and 20% vermiculite works great. Avoid garden soil—it’s too dense and may harbor pathogens. Pro tip: Add a fungicide like mycorrhizae to boost young roots!
How do I transition seedlings to outdoor blooms?
Hardening off (acclimating seedlings to outdoor conditions) takes 7–14 days. Start with 1–2 hours of shade daily, gradually increasing sun exposure and time. Watch for wilting or yellowing—a sign to slow down. Plant after all frost risk has passed, and water deeply to reduce transplant shock. Mulch around the base to retain moisture!
Wrapping up and next steps
From seed to blossom isn’t just a journey—it’s a celebration of patience, care, and the magic of growth. 🌱 Whether you’re a seasoned gardener or a curious beginner, every tiny sprout is proof that your efforts are blooming into something beautiful.
Now that you’ve mastered stress-free germination and nurtured vibrant blooms, why not expand your green thumb?
Your next step? Experiment with new plants—try heirloom varieties, fragrant herbs, or even rare blooms. Share your progress with fellow plant lovers, or gift your newfound skills to a friend. The garden’s greatest reward? Knowing you helped something grow. Happy planting! 🌸